Transform Your Outdoor Living Space Into a Cozy, Functional Retreat All Year Round
Outdoor living is the deliberate design and use of exterior spaces as functional extensions of the home, blending comfort and nature through elements like patios, kitchens, and fire pits. By structuring these areas for dining, lounging, or recreation, you create a seamless transition that expands your usable square footage. This approach delivers measurable benefits in daily wellbeing, offering fresh air, natural light, and a restorative retreat that indoor rooms cannot replicate. To maximize its value, furnish with durable, weather-resistant materials and arrange zones that invite year-round gathering.
What Does a Truly Functional Outdoor Space Look Like?
A truly functional outdoor space prioritizes distinct zones for specific activities, such as dining, lounging, and cooking, each with a clear purpose and comfortable circulation between them. It is shielded from harsh sun and wind through pergolas, umbrellas, or hedges, making it usable across more hours of the day. Durability and low maintenance are foundational, meaning weather-resistant materials, slip-resistant flooring, and integrated drainage that prevents puddles after rain. The layout includes adequate lighting for evening use—task lights over a grill and ambient lights along paths—plus accessible power outlets for appliances or speakers. Furniture is scaled to the space, leaving room to move, and storage is built in for cushions or tools, ensuring nothing becomes clutter. The result is seamless connection to the house, allowing outdoor living to happen naturally without extra effort.
A functional space anticipates weather shifts and everyday use, removing all friction between intention and activity.
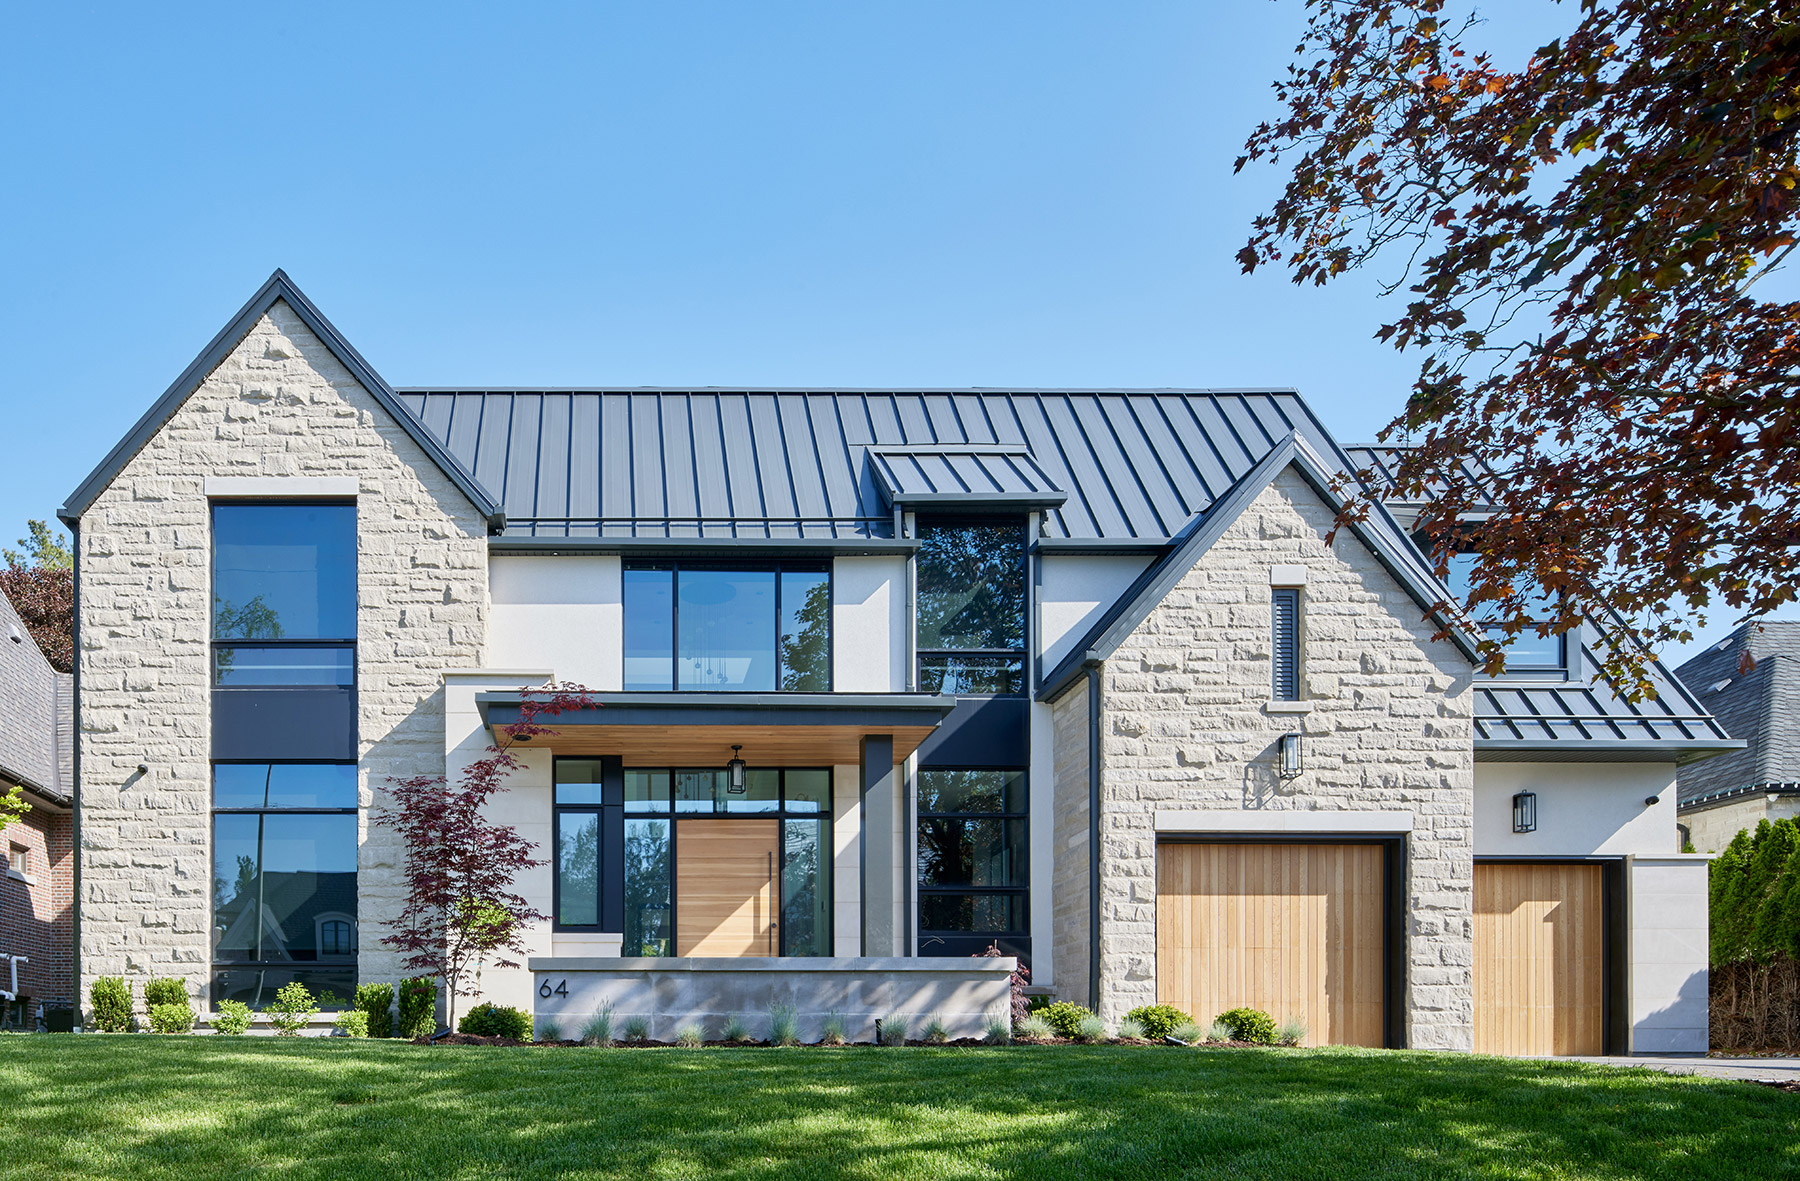
Mapping Zones for Cooking, Lounging, and Dining
A truly functional outdoor space begins with dedicated activity zones for cooking, lounging, and dining, each anchored to its core function and positioned to minimize cross-traffic. Place the cooking zone near the house for utility access and wind protection, keeping it at least ten feet from lounge seating to prevent heat and smoke interference. The dining zone should sit adjacent to cooking—roughly a three-step path—but on a hard, level surface for chair stability and spill cleanup. Lounging occupies the quietest corner, oriented toward a view or fire feature, away from the food-prep flow. Link zones with continuous paving or decking, avoiding steps between them, and use planters or low walls as visual buffers that don’t block sightlines.
Mapping zones for cooking, lounging, and dining means separating functions by proximity, surface, and sightline—cooking near utilities, dining adjacent to cooking, lounging removed from traffic—to create a seamless, efficient outdoor flow.
How Much Square Footage You Actually Need for Comfort
For true comfort outdoors, square footage depends on function, not a fixed number. A dining set for four needs roughly 100–120 square feet to pull chairs out safely, while a lounging area with two chaise seats requires about 80–100 square feet for circulation. If you combine cooking, eating, and seating, plan for at least 250–300 square feet to avoid cramped overlap. The key is measuring your intended furniture footprint plus three feet of walkway around every edge. A 10×10 patio feels generous for two people but tight for six; prioritize clearance over raw size.
Which Materials Hold Up Best Against Sun, Rain, and Frost?
For outdoor living, you want materials that laugh in the face of harsh weather. Powder-coated aluminum and stainless steel are the undisputed champs—they resist rust from rain, won’t fade under relentless sun, and shrug off frost without cracking. For wood, go with teak or cedar; their natural oils fight moisture and UV damage, though you’ll need to oil them yearly to keep the grey at bay. Composite decking holds up well, but dark colors can absorb heat and warp in extreme freeze-thaw cycles. Stone and concrete are practically immortal, yet porous options can spall when water freezes inside them. Always seal porous surfaces before winter hits and choose lighter shades for sun-exposed areas—they reflect heat better. *The real trick is matching the material to your specific microclimate, not just the general forecast.*

Comparing Decking, Pavers, and Composite Alternatives
When comparing decking, pavers, and composite alternatives against sun, rain, and frost, each material fails differently. Natural wood decking suffers most from moisture, promoting rot and warping, while UV rays gray its surface, demanding annual sealing. Pavers, by contrast, excel in freeze-thaw cycles because their individual units absorb movement without cracking; however, frost heave can shift them if the base isn’t compacted, and sun fades pigment over decades. Composite decking resists rot and splintering entirely, but its plastic content expands noticeably with temperature swings, sometimes requiring wider gaps, and dark shades absorb heat intensely. For durability, **composite alternatives outperform wood** for rain resistance, yet pavers remain superior against frost, making base preparation and color choice the deciding factors.
Choosing Fabrics and Finishes That Resist Fading and Mold
For outdoor living, prioritize solution-dyed acrylic fabrics—the pigment is locked into each fiber, so UV rays can’t strip color the way they do with printed cotton. Pair them with closed-cell foam cushions that drain water instantly, preventing mildew from taking root. On hard surfaces, choose powder-coated aluminum or teak oil finishes that shed moisture rather than absorbing it; untreated wood invites fungal streaks within a season. Also, opt for marine-grade polyester thread on seams, since standard thread rots first and lets water seep inside. Finally, apply a UV-protective sealant to natural stone or concrete, but reapply annually—this barrier blocks both fading and algae growth.
Solution-dyed acrylics, quick-drain foam, and UV-sealed hard finishes are your defense against both sun-bleached color and moisture-fed mold.
How to Extend Usable Hours With Lighting and Heating
To truly **extend usable hours with lighting and heating**, layer your outdoor space with purpose. Start by positioning infrared patio heaters overhead or near seating to create instant warmth zones that cut through evening chill, allowing you to linger well past sunset. Pair this with low-voltage path lights and dimmable string lights to define walkways and dining areas, eliminating dark pockets that make guests retreat indoors. For a dynamic feel, install smart lighting that shifts from bright task illumination during dinner to a softer, amber glow for conversation afterwards. Add a freestanding fire pit or radiant heater near lounge furniture, directing heat downward where people actually sit. This combination of targeted thermal comfort and strategic illumination transforms your patio into a year-round retreat, effectively doubling or tripling the hours you actively enjoy it each day.
Layered Lighting Schemes for Safety and Ambiance

A successful **layered lighting scheme** for outdoor living combines three distinct tiers: ambient, task, and accent illumination. Start with low-voltage path lights or recessed step lights to define circulation routes, preventing trips in the dark. Then add warm-glowing wall sconces or pendant fixtures near seating and dining zones to create a comfortable, inviting atmosphere. Finally, use spotlights or uplights on trees, planters, or architectural features to add depth and visual interest. For effective safety, ensure all transitions—stairs, edges, and changes in paving—receive at least a 10:1 contrast ratio of light to shadow. Control everything via a smart dimmer or timer to seamlessly shift from bright security to soft ambiance. Glare-free shielding is essential; aim fixtures downward or use louvers to avoid blinding users. Layered lighting extends usable evening hours without harshness, balancing visibility with a relaxed mood.
Q: How do I avoid over-lighting a patio while keeping it safe?
A: Use dimmable zones—keep path lights at 100% for divine home walking, but lower overhead ambient lighting to 30–40% during social hours. This preserves visual comfort while maintaining a clear, hazard-free floor plane.
Fire Pits, Patio Heaters, and Propane vs. Electric Options
Extend your evenings with fire pits and patio heaters, but choose your fuel wisely. Propane models deliver intense, instant heat, making them ideal for large gatherings where output matters most. Electric patio heaters, however, offer zero emissions, no fuel refills, and safer operation on wooden decks or under covered pergolas. For ambiance, a propane fire pit becomes the focal point, yet an electric infrared heater warms people directly without wasting energy on the surrounding air. *Your choice ultimately hinges on whether you prioritize raw warmth for a crowd or clean, low-maintenance convenience for frequent solo use.* Consider wind exposure too, as propane flames flicker out easily, while electric units remain steady.
Pick propane for powerful, portable warmth and classic flame aesthetics; choose electric for effortless, flameless, and low-fuss heating that suits covered spaces perfectly.
What Furniture Styles Maximize Comfort and Durability?
For outdoor living, deep-seated modular sofas with quick-dry foam cushions maximize comfort by offering lounge-grade support that resists sagging, while their slipcovers unzip for washing. Pair them with a low-profile solid teak or powder-coated aluminum frame—both withstand sun and rain without rotting or rusting. To boost durability, choose Sunbrella-grade fabric that repels moisture and UV rays; for dining, choose ergonomic stackable chairs with contoured polypropylene seats, which flex for comfort yet never crack.
Invest in pieces with removable, replaceable cushion covers—this single feature extends lifespan tenfold.
Finally, add a hammock or sway chair with a marine-grade rope and stainless steel hardware; its suspended motion relieves pressure points while the materials endure decades of exposure.
Deep Seating, Modular Sets, and Weatherproof Cushions
For enduring outdoor comfort, deep seating modular sets are the gold standard, offering plush, sofa-like depth that invites hours of relaxation. Choose modular pieces with interlocking aluminum or rust-resistant frames, allowing you to reconfigure layouts as your space evolves. Pair them with weatherproof cushions made from high-density, quick-dry foam wrapped in solution-dyed acrylic fabric, which resists fading, mold, and moisture absorption without losing shape. Look for zippered, machine-washable covers to simplify maintenance, and ensure frames carry a UV-stable powder coating. This combination delivers a living-room feel outdoors while surviving sun, rain, and salt air with minimal upkeep.
Deep seating, modular sets, and weatherproof cushions together create a durable, customizable lounging system that withstands the elements while preserving plush comfort year after year.
Space-Saving Pieces for Small Patios or Balconies

For small patios or balconies, space-saving outdoor furniture hinges on pieces that fold, stack, or tuck away without sacrificing comfort. Look for bistro sets with slim profiles, or wall-mounted folding tables that drop down when needed—they free up floor area for yoga or guests. A bench with built-in under-seat storage doubles as both seating and a hideaway for cushions. Nesting stools slide neatly beneath a taller table, creating extra perches only when entertaining. Prioritize weatherproof materials like powder-coated aluminum or teak so these compact pieces survive seasons without needing indecent amounts of maintenance. To maximize every inch, follow a simple sequence: measure your footprint, choose a primary lounger or chair, then add folding side tables and stackable stools as flexible accents.
How Do You Integrate Greenery Without Constant Maintenance?
Integrating greenery into outdoor living without constant upkeep hinges on selecting native, drought-tolerant plants that thrive naturally in your local climate. Instead of a thirsty lawn or delicate annuals, build a foundation with perennial groundcovers like creeping thyme or sedum, which form dense mats that suppress weeds and need only occasional trimming. Use large, self-contained containers with self-watering reservoirs for herbs or ornamental grasses, drastically reducing watering frequency. Pair these with structural hardscaping—raised beds filled with gravel mulch or decomposed granite paths—to minimize bare soil where weeds sprout. Choose slow-growing shrubs that require pruning no more than twice a year, and skip plants that demand deadheading. Install drip irrigation on a simple timer once, then let it handle moisture delivery, eliminating daily hand-watering. This approach creates a layered, lush outdoor space where visual complexity does not translate into laborious care.
Container Gardens, Vertical Planters, and Native Species
Container gardens allow precise control over soil and water, reducing upkeep by grouping plants with identical needs. Vertical planters maximize limited floor space while minimizing weed pressure, and their elevated design simplifies irrigation. Native species, once established, demand far less intervention than exotic ornamentals, as they are naturally adapted to local rainfall and pests. Self-sustaining container and vertical plantings with native species create a cohesive, low-labor ecosystem. Strategic placement of these systems near water sources or shaded walls further cuts evaporative loss, making hand-watering a rare task.
- Pair drought-tolerant natives in self-watering containers to slash watering frequency.
- Use vertical planters with built-in reservoirs for automatic moisture delivery.
- Choose clumping native grasses for containers—they rarely need division or pruning.
Smart Irrigation and Drainage Solutions for Busy Homeowners
For busy homeowners, smart irrigation and drainage solutions turn a chore into a set-and-forget system. Soil moisture sensors trigger watering only when roots are dry, preventing both drought stress and wasteful runoff. Pair these with smart controllers that adjust schedules based on local weather forecasts, so a surprise storm cancels tonight’s cycle automatically. For drainage, opt for buried French drains or dry wells connected to downspouts, directing excess water away from plant beds and patios—no standing puddles, no soggy grass. Drip lines with pressure-compensating emitters deliver water precisely to each plant’s base, reducing evaporation and weed growth. The payoff? A lush, resilient landscape that thrives while you’re at work or on vacation, with zero weekend watering marathons.
Q: How often should a smart irrigation system run if I’m away for two weeks?
A: It won’t run on a fixed schedule. Instead, it checks real-time soil moisture and rainfall data daily, watering only when needed—often 2–3 times total in dry periods, saving water and preventing both rot and wilt.
What Are the Biggest Mistakes to Avoid When Designing a Backyard Retreat?
The biggest mistakes when designing a backyard retreat often stem from ignoring the daily reality of outdoor living. First, failing to zone the space properly—placing a dining set directly in a high-wind corridor or a fire pit without a windbreak—destroys comfort. Equally critical is skimping on privacy; a retreat without solid screening, like tall planters or a pergola with curtains, feels exposed and unusable. Another common error is choosing materials that overheat or become slippery when wet, turning the area into a hazard. Finally, do not underestimate lighting; a backyard retreat that is only usable until sunset, or relies on harsh floodlights, fails entirely. Prioritize functional outdoor living layouts and comfort-driven design choices to ensure the space is genuinely livable, not just visually appealing.
Ignoring Wind Patterns and Privacy Sightlines
Ignoring wind patterns and privacy sightlines turns a retreat into a drafty fishbowl. Before placing a seating area, map the prevailing breeze; locating a fire pit directly in its path guarantees smoke follows guests, while a lounge under a wind tunnel makes evenings unusable. Simultaneously, trace sightlines from neighboring windows and the street—a hot tub or dining table fully exposed destroys the sense of seclusion you’re buying. Strategic placement and layered screening solve both: use a solid fence or dense hedge on the windward side to deflect gusts and block sightlines, but offset it to avoid trapping still air. Test your layout on a windy day; if paper napkins blow away or you make eye contact with a neighbor, shift the zone.
Q: How do I balance blocking wind without losing my view?
A: Use partial screens—louvered panels or tall grasses—that filter gusts at seating height (2–3 feet) while preserving a sightline above 6 feet, then angle them 15–20° off the prevailing wind direction to deflect rather than wall off.
Overlooking Storage for Cushions, Tools, and Outdoor Electronics
Failing to allocate dedicated storage for cushions, tools, and outdoor electronics is a design flaw that erodes both comfort and longevity. Leaving weatherproof speakers exposed to direct sun or rain guarantees premature failure, while soiled cushions and scattered pruners turn a retreat into a chore zone. **Strategic hidden storage solutions**—like built-in benches with lift-up lids, weatherproof deck boxes, or a compact cabinet for charging stations—keep every essential accessible yet protected. Without this foresight, you face constant hauling indoors or costly replacements. A seamless retreat demands that gear vanishes when not in use.
Q: How do I protect outdoor electronics without ruining the aesthetic?
Incorporate a discreet, weatherproof media cabinet with ventilation and cable routing, aligned with your seating wall or decking, so plugs and devices stay dry and out of sight yet within reach.
Related Articles